My father, ‘Sut’ Settlemeyer was a surveyor for the United States Geological Survey (USGS). He referred to the maps they produced as quad, or relief maps. The universal geologic language of relief mapping is contour topography. Now what exactly is a contour? Simply, nothing more than a step. Just as a flight of stairs is comprised of risers and treads, topographic contours consist of elevations and resolution.
Let us discuss elevations first. Imagine a series of high water marks formed around a lake. Each of the ‘rings’ around the lake is at a specific elevation. Now use your mind’s eye to take a bird’s eye view of that same lake. Each of the rings now becomes a contour showing the shape of the lake at a given elevation. The collective of contours forms the topography of the lake’s bank. Contours, as they relate to relief mapping, are nothing more than a series of high water marks; each with a specific elevation.
Resolution, on the other hand, is simply the number of contours used to define the shape and slope of land. Large relatively flat areas require higher resolution; usually one-foot step intervals. Rugged relief is better served by 2, 10 or 40 foot intervals. We might use 1ft intervals for a lot in town and 2ft for a parcel in the foothills. When viewing topography, note that one set of contour lines will be heavier than the others. This is the index contour. The thinner contour lines define the 5 steps from index to index. As you may have surmised by now, the closer the contour lines are to one another, the steeper the land being represented by the topography.
Next stop, the contour zone. Outside of the U.S.G.S. quad maps, where else do we turn to find topography? Locally, we have access to topographic imaging by way of the Pima County GIS website. With few exceptions, a great deal of the Tucson metropolitan area and some of the outlying areas have two-foot contours on layers that can be viewed independently or superimposed over aerial photos. Mousing over a given contour discloses its elevation. However, there are too many useful tools that are available on the GIS site to describe within the scope of this article.
So, if more specific topography is needed, where do we turn? The two methods used predominately are aerial photogrammetry and GPS measurement. Both methods require what surveyors call control to relate the topographic image to the boundary. A local benchmark with a published elevation is sought and measured. Then, a boundary survey is performed so the topography relates to the subject parcel. GPS can now be utilized to shoot a pattern of elevations sufficient to allow mapping software to translate the grade shots into contours. This method works well in smaller areas.
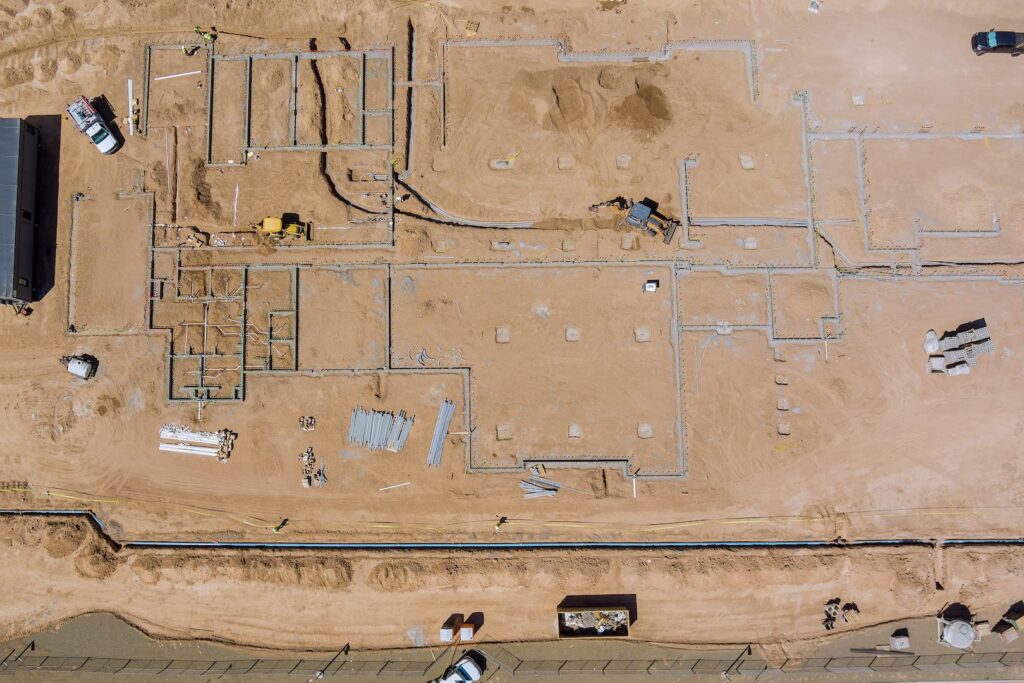
Aerial photogrammetry is utilized for areas too large for the GPS method. As the name implies, the aerial method employs stereo photography taken from a plane. Prior to the flight, the surveyor establishes a network of white panels, usually in the shape of a cross placed onto the ground. Each panel is measured, the elevations are provided to the photogrammetry company and the resulting topo is returned to the surveyor. Each method, GPS or aerial provides a CAD (Computer Aided Drafting) image that can be shared with an architect or an engineer.
If this all sounds like Greek to you, fear not! I have extensive experience with helping clients “translate” the topographic language of the plot they’re interested in.
This is the first of two blogs written by guest author, Jon Settlemeyer, Settlemeyer LLC. Jon, a professional land surveyor in Tucson Arizona, can be reached at 520.512.0666 or Surveys@Settlemeyer.com.


